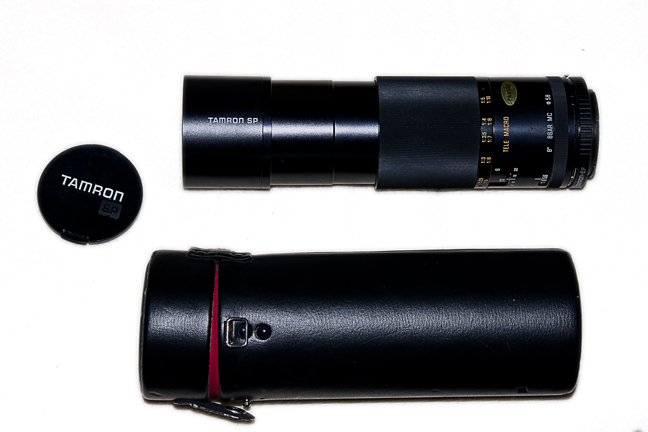
Here is the lens:
And here are some samples (click to enlarge):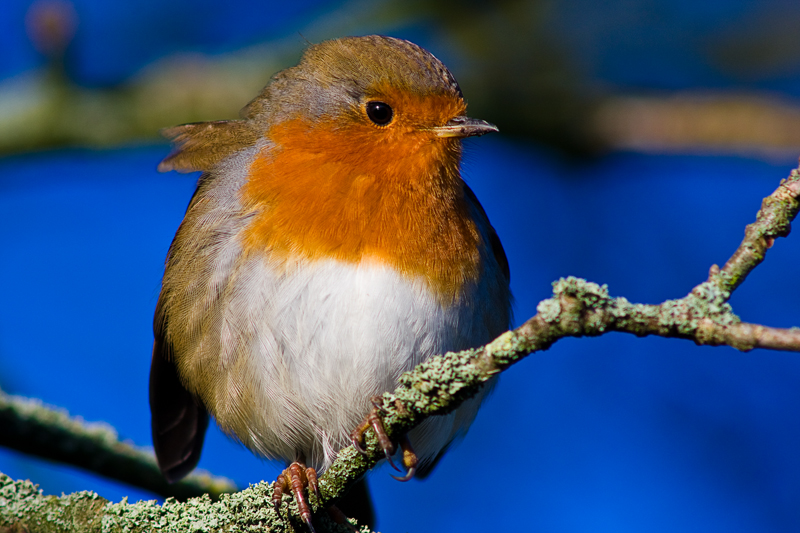

And here are some samples (click to enlarge):


A simple adjustment of contrast was added to make the shadows darker to remove distractions.


For the full pictures, see : http://www.ms-imaging.co.uk/Portraits/Matthew-John/9374404_akwZc
For more details of Thornbury Castle, see: http://www.thornburycastle.co.uk/

I'm not the most experienced at taking optics apart but for the cost and the risk I thought I'd give it a go. Both ends of the lens unscrew easily and no tools are needed. I cleaned both sides of each element with lighter fluid and a lens cloth and also the iris, which incidentally has 10 blades so it forms a fairly smooth circle at any aperture.
The next test shot looked like this (click on the images to see larger size):

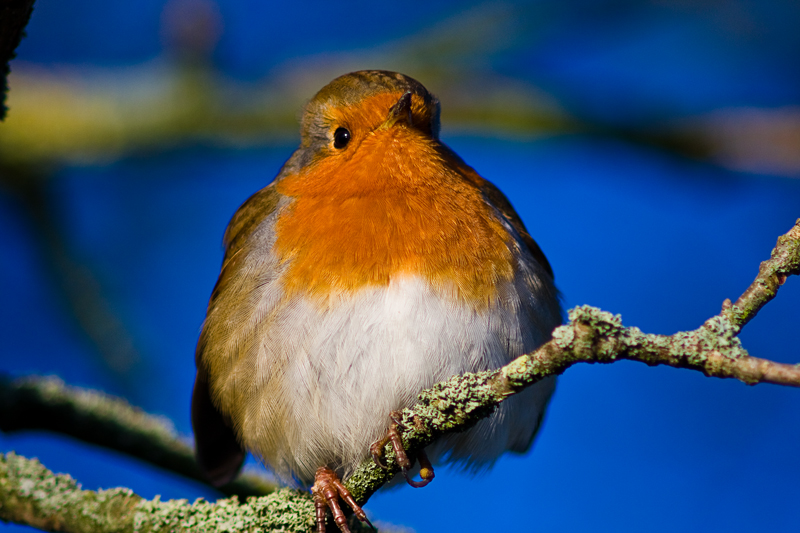
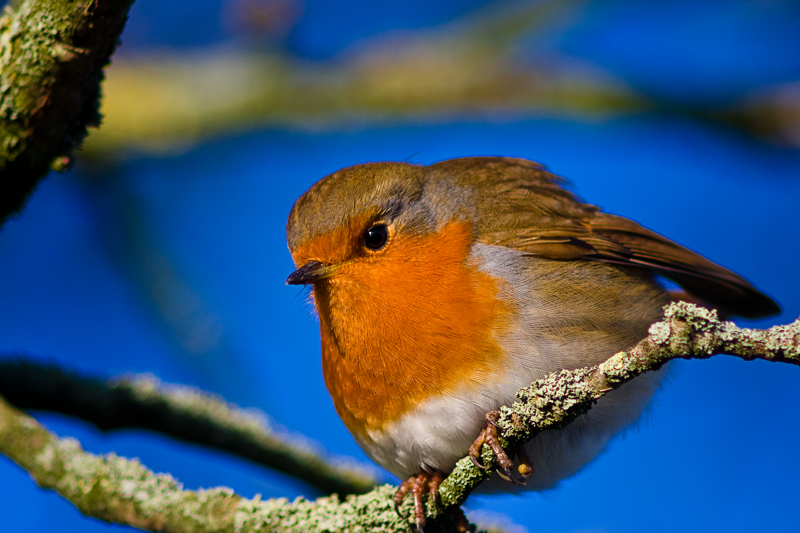
Impressed with the progress I took it out across the fields with it mounted on a tripod. Unfortunately it was windy and getting dark so opportunities were limited. Anyway, here's a few examples:
1.
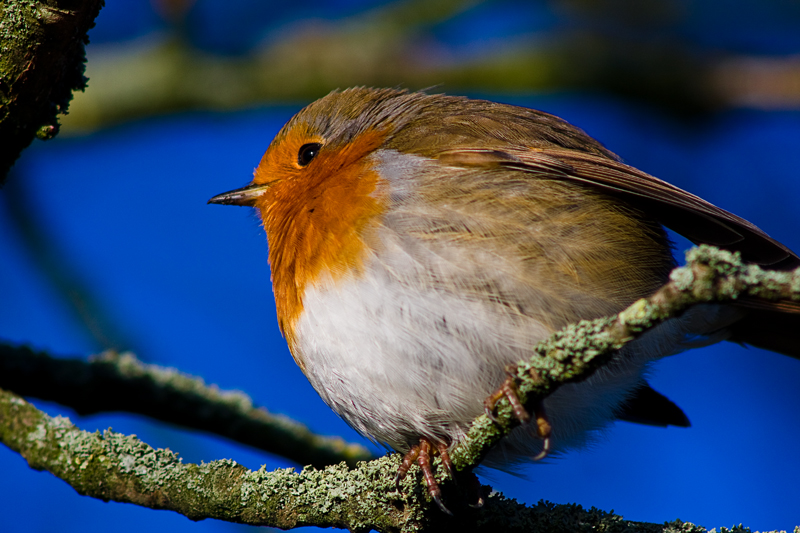
2.
Crop (I didn't notice the little bug until I was editing)
3. (just testing distance shots)
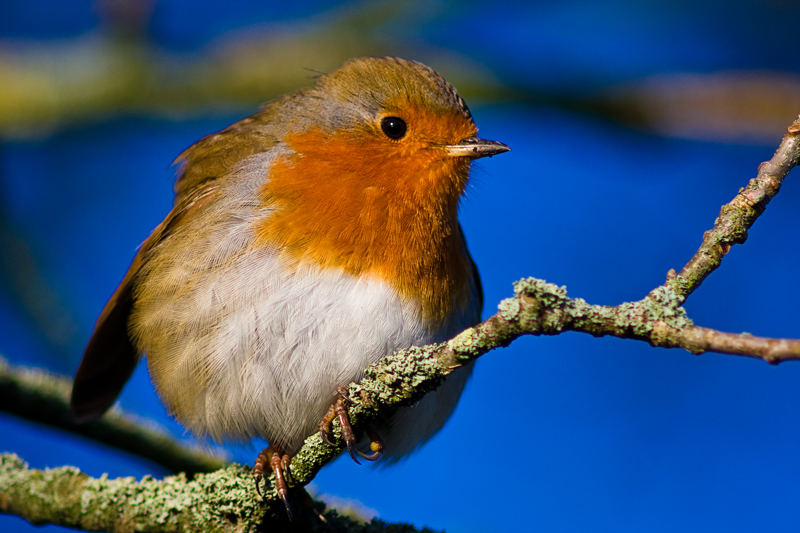
4.
5.
6.
7.
Finally a pic of the lens mounted on bellows, attached to my 40D:


